
Crazy, but it clearly has every chance of being an incredibly fun day, I am on a one-day Amazing Race team... for charity! Casa de Amparo is a foster care facility in North San Diego County that gives shelter, counseling and love to abused children, of which my husband and I are long-time supporters. They are the beneficiaries of this Amazing Race so win or lose for my team it's a WIN for Casa de Amparo.
My team, the Blazin' Babes, were in need of team shirts so I volunteered to create something special. While cruising Pinterest (you can follow me and my crazy pins) I found a tutorial on how to print on fabric. I'm so glad I pinned it because I needed to do it. Here's how it worked for me:

I cut my fabric just a bit larger than a legal size paper.My team, the Blazin' Babes, were in need of team shirts so I volunteered to create something special. While cruising Pinterest (you can follow me and my crazy pins) I found a tutorial on how to print on fabric. I'm so glad I pinned it because I needed to do it. Here's how it worked for me:
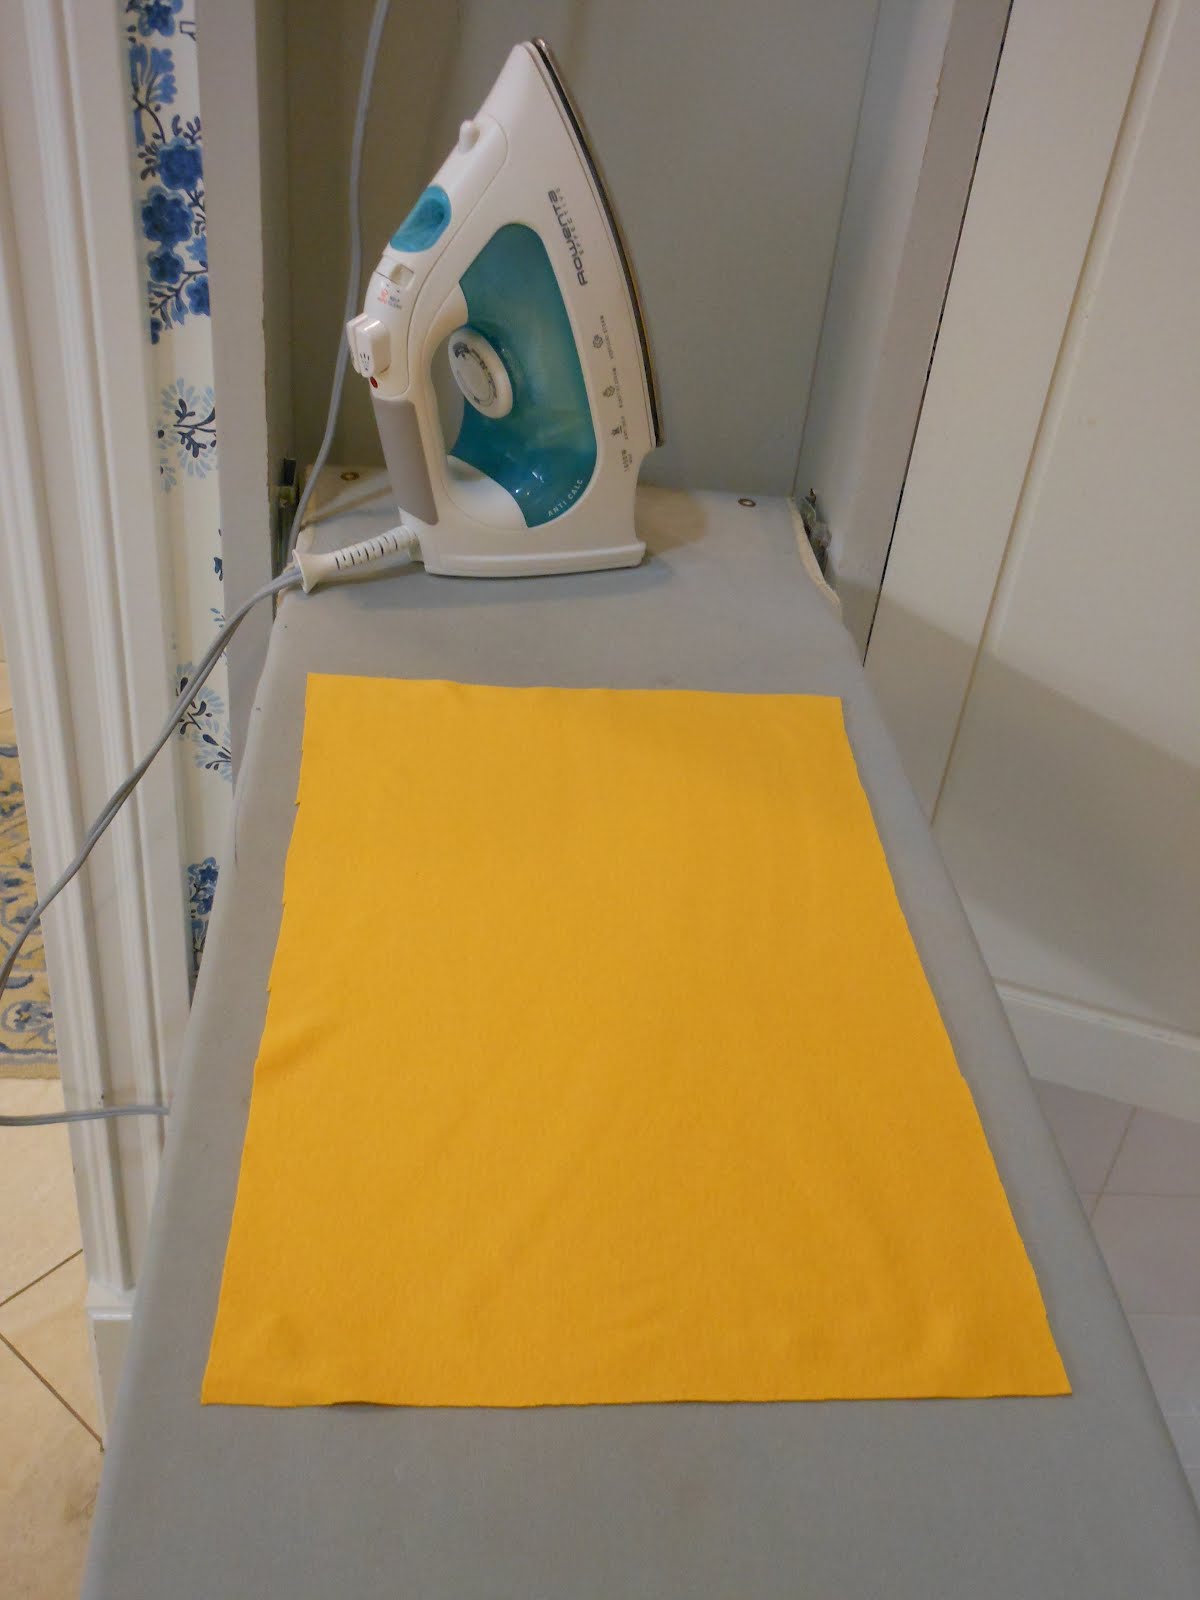

And then I cut the freezer paper about the same size.

With the side of the fabric that I wanted to print on facing the ironing board, and the shiny side of the freezer paper facing the wrong side of the fabric I ironed to fuse the two together. Don't worry it's not a permanent fuse, just temporary.

Then I trimmed it exactly (well, pretty close) to a legal size paper.

Then I loaded it into my printer, said a prayer, hit print and watched it come out the other side with the design I had created. Cut out lines and our team name logo "Blazin' Babes".
 Then I cut out my shape and peeled the fabric from the freezer paper.
As you can see I stitched it to another flame in red
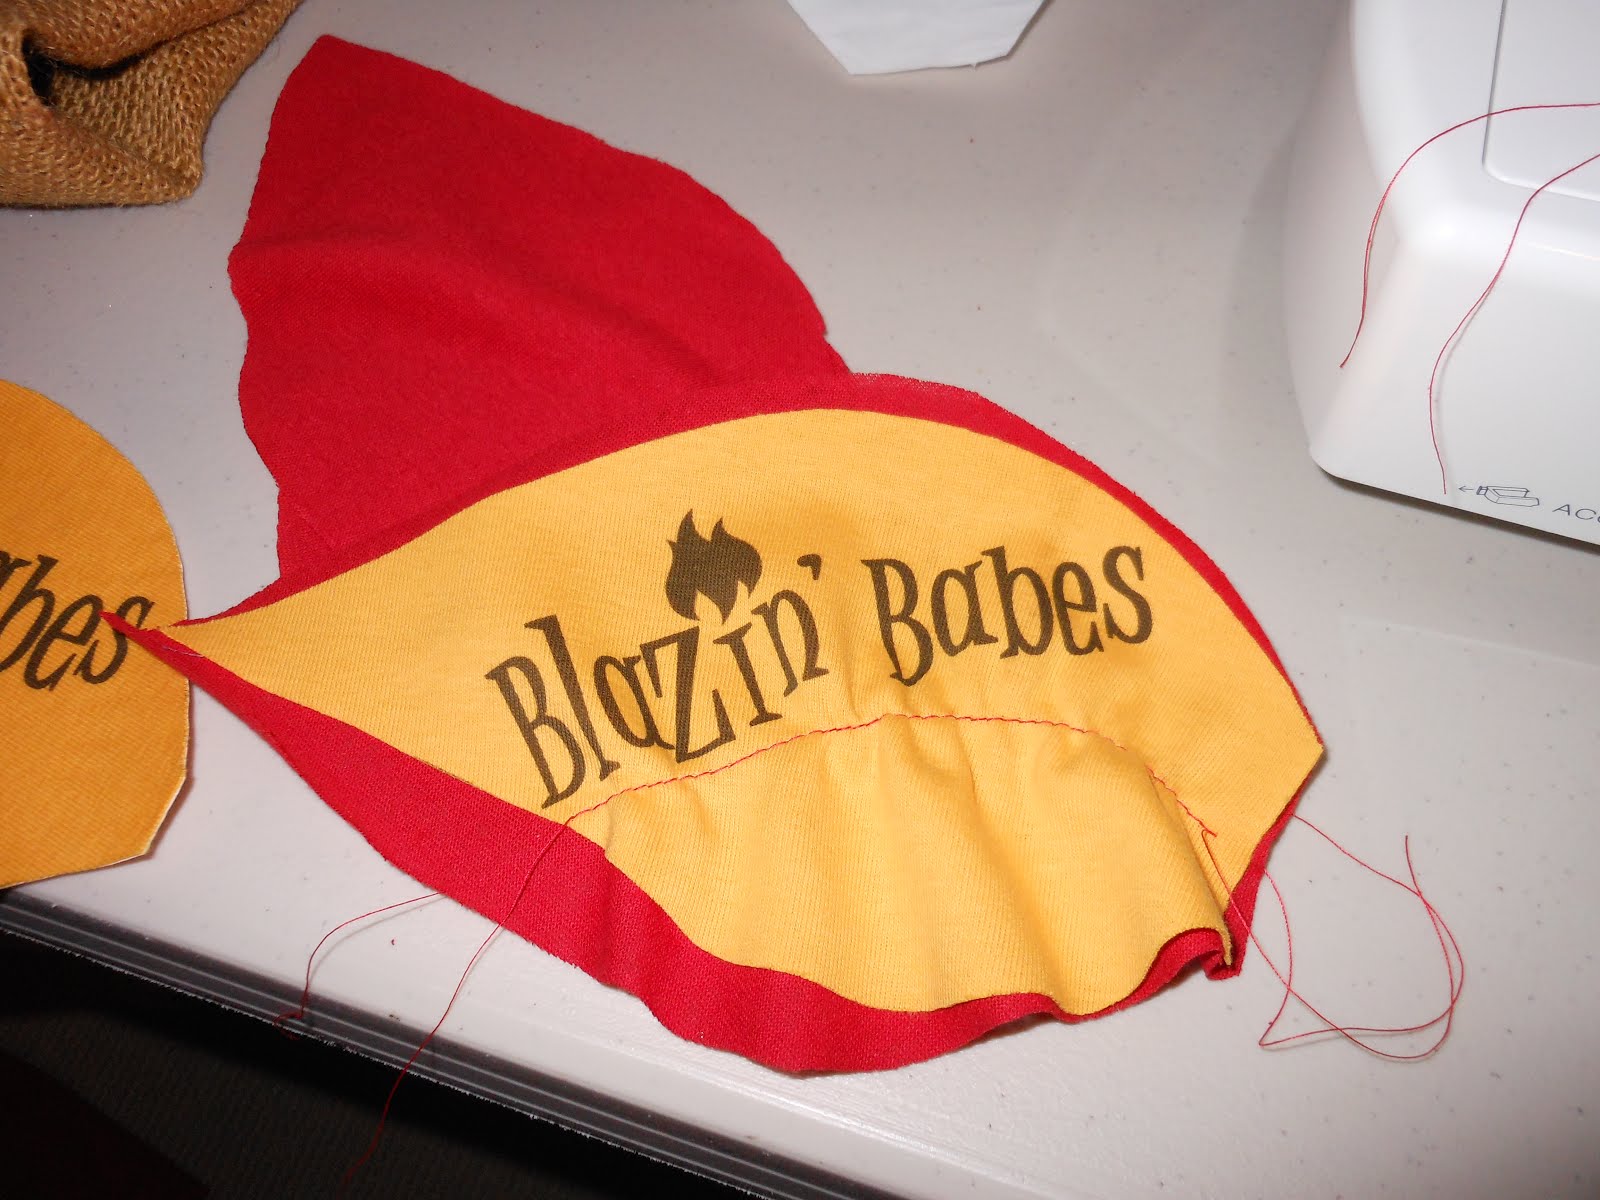
and then pulled the bobbin thread to gather it up just a bit. I did this same thing for flames with each team member's name and also to other fabric flames.

I pinned the flames in place, hand-sewed them on our black t-shirts and now we are ready to win our Amazing Race!
 Wish me and the team luck!
so darn fabulous! well done kim! love how they turned out!
ReplyDelete